


Curtains play a pivotal role in enhancing the aesthetics and functionality of your home. Whether you’re looking to spruce up your living room, add privacy to your bedroom, or simply control the amount of sunlight that enters a room, curtains are an excellent choice. However, to get the most out of your curtains, proper installation is key. In this step-by-step guide, we’ll walk you through the process of curtain ring installation to help you achieve a polished and professional look in your home.
Materials You’ll Need:
Before you begin, gather the following materials:
- Curtain Rod: Ensure that your curtain rod is securely mounted in place.
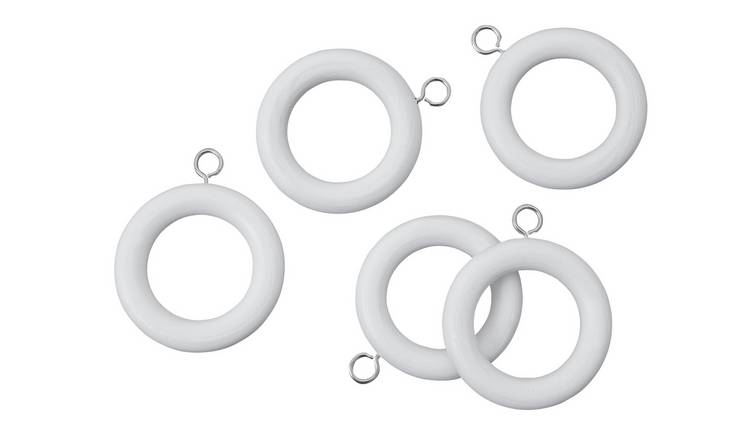
- Curtain Rings: Choose curtain rings that match your decor and curtain rod size.
- Curtains: Have your curtains ready and ironed if necessary.
- Measuring Tape: To ensure precision during installation.
- Pencil: For marking the positions of your curtain rings.
- Screwdriver: If your curtain rings require screws for attachment.
Step 1: Measure and Mark
Start by measuring the width of your window to determine the placement of your curtain rings. Divide the width by the number of curtain rings you have to space them evenly. Mark these positions lightly with a pencil above the window frame or on the wall.
Step 2: Determine Ring Placement
Decide whether you want the rings to sit on the curtain rod or slide freely. If you prefer them to slide, position the rings slightly above the pencil marks. If you want them to rest on the rod, place them directly on the marks.
Step 3: Attach the Rings
If your curtain rings have clips or hooks, simply open them and slide them onto the curtain rod. Ensure they are evenly spaced according to your measurements. If your rings require screws for attachment, follow the manufacturer’s instructions to secure them to the wall or window frame at the marked positions.
Step 4: Hang the Curtains
With the curtain rings in place, it’s time to hang your curtains. Attach the curtain hooks or loops to the rings, starting from one end and working your way to the other. Be gentle to avoid damaging the curtains or rings.
Step 5: Adjust and Straighten
Once your curtains are hanging, adjust them to ensure they are evenly distributed along the curtain rod. Check for any wrinkles or folds and straighten the curtains as needed.
Step 6: Test Operation
Give your curtains a test run by opening and closing them to ensure they glide smoothly on the rings and that they cover the window adequately.
Step 7: Finishing Touches
Finally, stand back and admire your handiwork. If you’ve installed multiple curtains or panels, make sure they align neatly for a polished look. Trim any loose threads and make any necessary adjustments to ensure a clean and professional finish.
Additional Tips:
- If you’re installing heavy curtains, consider using additional support brackets for your curtain rod to prevent sagging.
- When choosing curtain rings, opt for materials and finishes that complement your curtain rod and room decor.
- Take your time during installation to ensure accuracy, as unevenly spaced rings can affect the curtain’s appearance and functionality.
By following this step-by-step guide, you can achieve a hassle-free curtain ring installation that not only enhances the beauty of your home but also ensures your curtains operate smoothly and effectively. With your curtains elegantly in place, you’ll be able to enjoy the perfect balance of privacy, sunlight, and style in any room.


+ There are no comments
Add yours